-
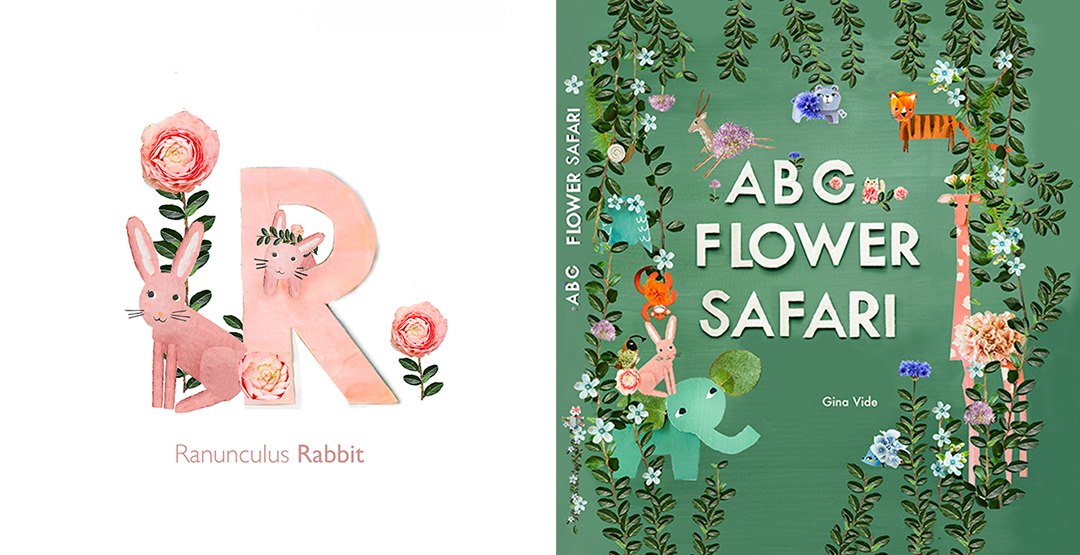
BUY my new ABC Flower Safari Book | HERE
“R is for Ranunculus Rabbit”
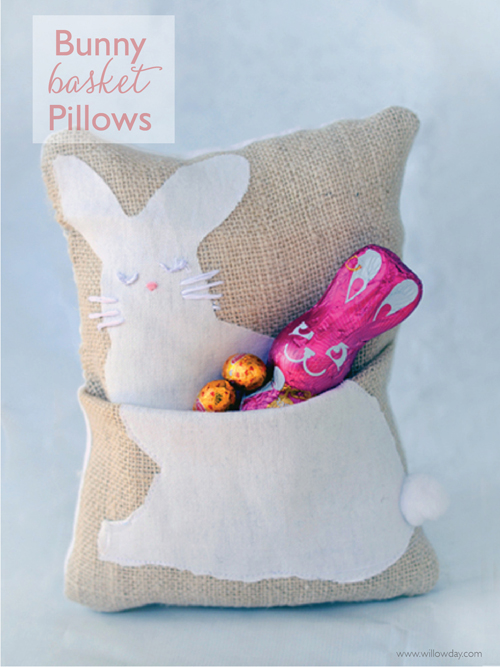
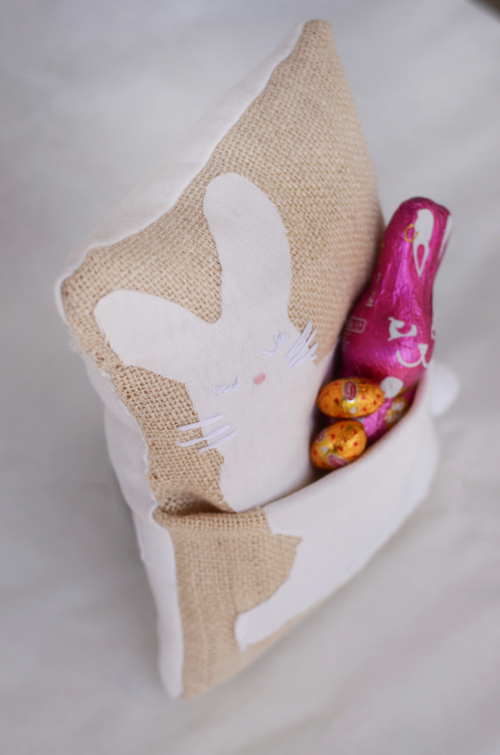
A Bunny Basket Pillow, anyone?
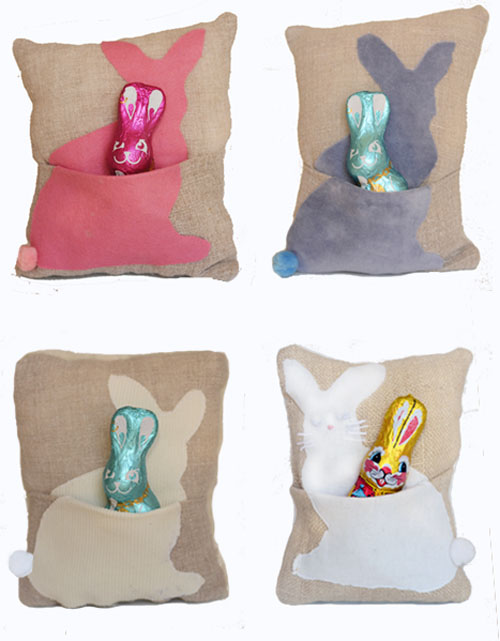
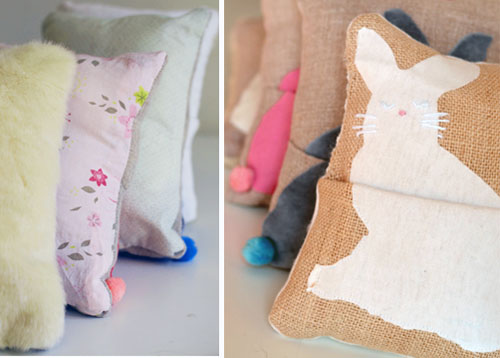
Top left: felt bunny Top right: velour bunny Bottom left: corduroy bunny Bottom Right:flannel bunny with embroidered details, all on linen fronts. We’ve made many more combinations and I can’t choose a favorite. I love them all.
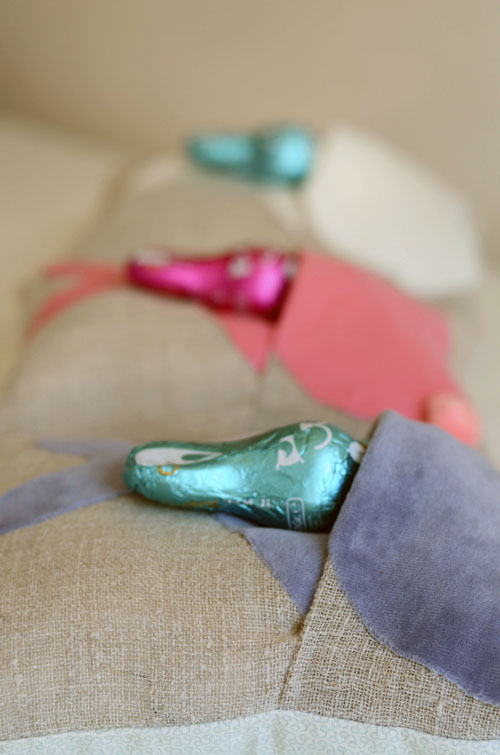
Don’t these chocolates look snuggly in our test run before the arrival of the real Easter Bunny!
This project is so much fun to share. While these Bunny Pocket Pillows could easily grace a room, year around, I’m resisting the urge to do so and plan to keep these exclusively for Easter. They feel like they are an item that will continue to grow with us. I’m already looking forward to bring them out next year. (Don’t you think they’d be great in a bed room or in a children’s play area, as well?) Hop down below for the tutorial.
Partly green and partly for keeping; I’ve backed all of the pillows with fabrics re-purposed from the children’s clothing — faux fur from an old jacket, cotton from a summer dress; more from toddler blankets, etc. Combining these fabrics in a holiday decoration felt like the perfect place to do so. Are you good at re-purposing?
Supplies:– Fabric for pillow (I used linen for the front and cotton and/or faux fur for the back)
– Soft Fabric from the Bunny Applique (I used craft felt, cotton flannel, corduroy and velour)
– Bunny Stencil (Printable Bunny PDF — click here)
– Iron-on interfacing paper
– Iron
– Pins
– Scissors
– Embroidery needle and embroidery thread, if desired
– Needles
– Sewing machine, but these can be sewn by hand, if desired.
– Pom Poms for tails.
– Pillow stuffing


Enjoy.
MY ART PRINT SHOP ( HERE)
Instagram or Pinterest | Facebook.
Something you might be interested in:
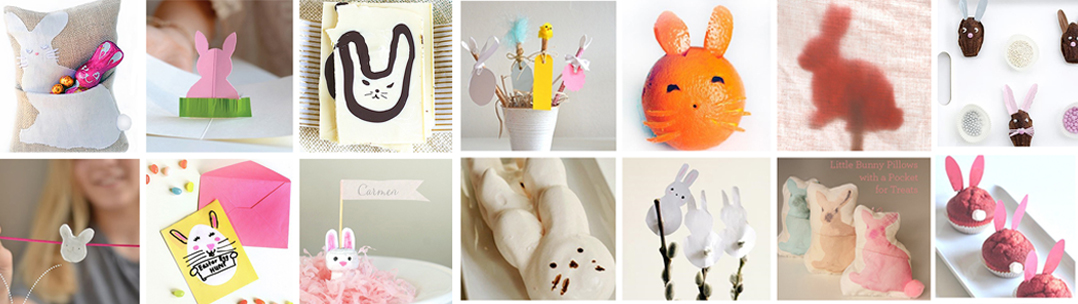
Over one dozen FUNNY BUNNIES TO MAKE | HERE
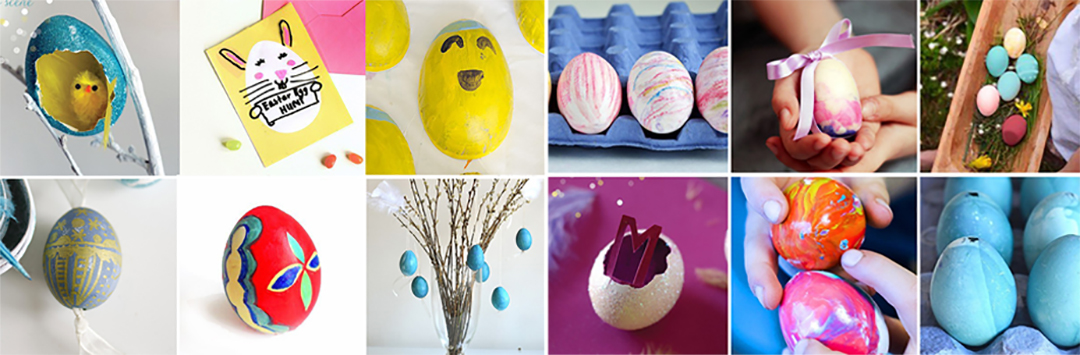
1 DOZEN EGG IDEA | HERE