 Ready. Bike. Go:
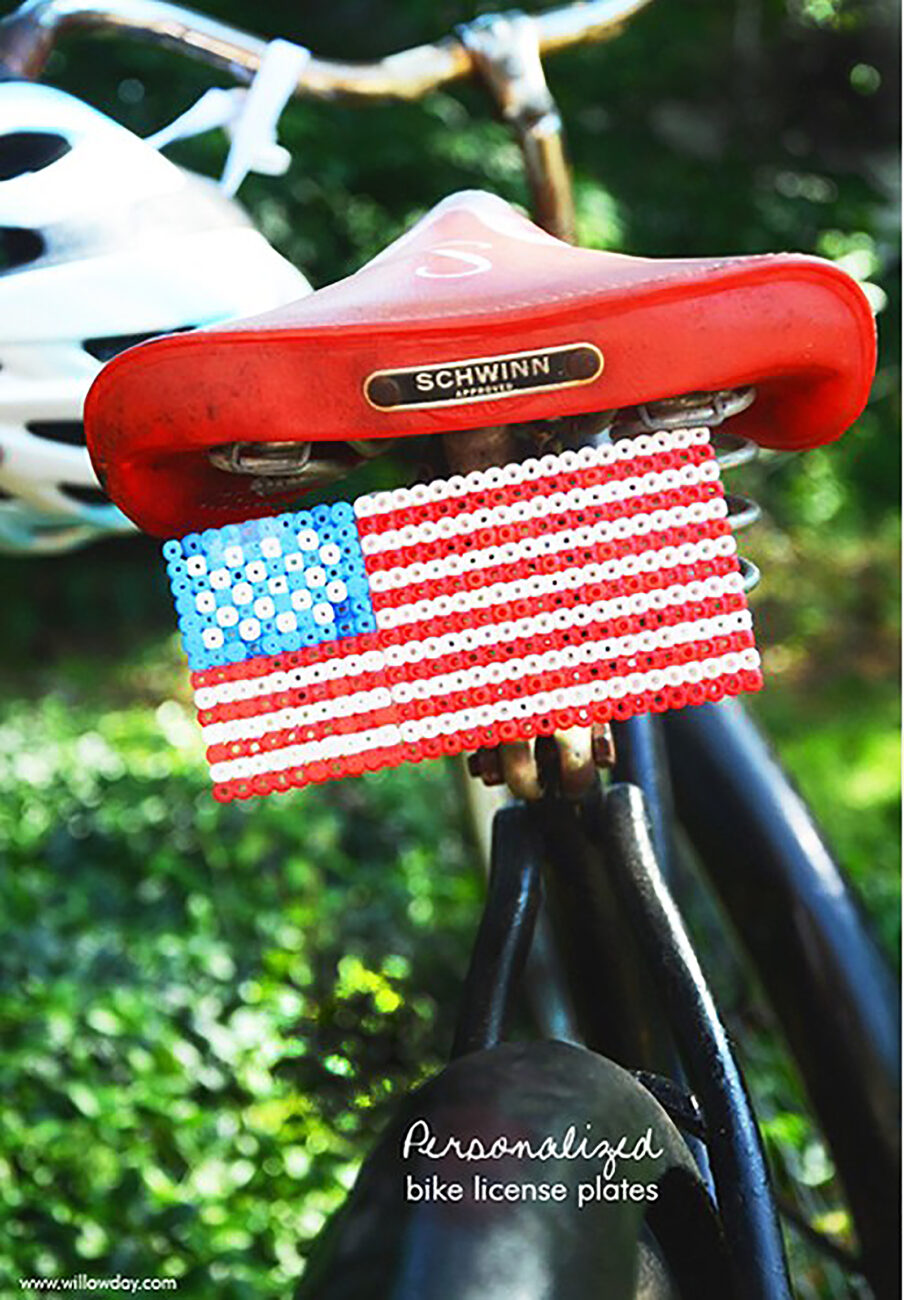
Grab those craft pearls! Let your kids make their own Personalised Kids Bike License Plates!
DIY Bike License Plates
Our kids have names that we rarely find on pre-personalised items, like licence plates. I’ve came up with a fun and simple way to make our own personalised licence plates. I wish that I had thought of this many years earlier and wanted to share with you as fast as I could.
Just click below for a full how to make your own DIY BIKE LICENSE PLATES.
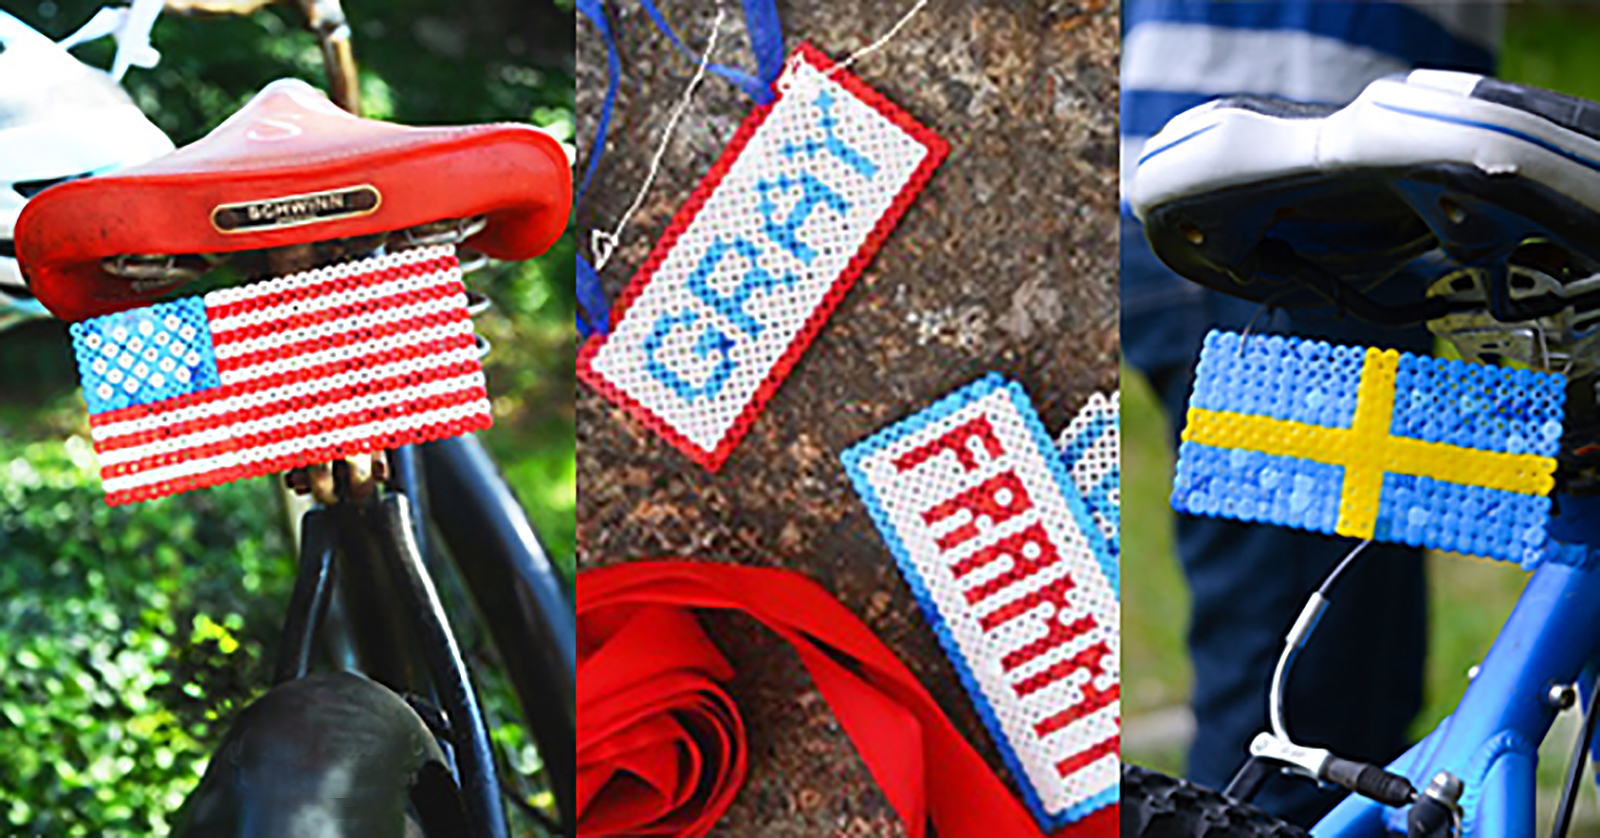
Take a little inspiration from ours. We make Name Plates, We’ve made American Flags and we’ve made Swedish Flags.
(These pair beautifully with colourful, crepe paper wheels and streamer handle bars, too! I wish we had more parades ahead this summer!)
Both of these styles are great on bikes or even on doors. Not only is this a personalised projects, but one that’s nice, easy, cute — and functional, too! Happy Making.

materials: Perler or Hama Beads, 1 rectangular tray, iron, ironing paper, ribbon or wire to attach to bike; padded adhesive stickers, if attaching to a door.
- How to make a Personalized Kids Bike License Plate:
- 1. Outline a rectangle in one solid bead color. (We made ours 27 beads wide x 12 beads tall.)
- 2. Spell name with solid color in the center.
- 3. Fill in all empty spaces with a third solid color around the name and within the boarder.
- 4. Iron according to instructions. To melt our peeler beads, we set the iron according to instructed heat, covered the design with the provided ironing paper and ironed the beads until they were melted. Make sure the beads are very well melted and holding together tightly!
- 5. Once all beads are melted and melded together, peel the name plate off of the tray and completely cool.
- 6. Clip ribbon or wire to desired length and attach.
- 7. To attach, thread the ribbon or wire through a bead that is on the end of the top row. Tie the ribbon or twist the wire so that it attaches to the bike set.
- 8 Ready to go!
- To use as a door plate:
6. Cut and apply 4 pieces of adhesive sticker to the back corners of the license. Press the name plate on to door on desired location.

We kept the same basic measurements: 28 beads wide x 12-14 beads tall for our flags.
For the American Flag, starting with the top row: we placed 10 blue beads followed by 14 white beads to begin the American Flag Pattern. Work from the top down andRow 1: 10 blue 18 white = 28 bead width
Row 2: 1 blue (b), 2 white (w), 1 (b), 1 (w), 1 (b), 1 (w), 1 (b), 1 (w), 2 (b) red until the end
Row 3: 2 blue (b), 2 white (w) 1 (b), 1 (w), 1 (b), 1 (w), 1 (b), 1 (w), 2 (b) white until the end
Row 4:1 blue (b), 2 white (w), 1 (b), 1 (w), 1 (b), 1 (w), 1 (b), 1 (w), 2 (b) red until the end
Row 5:2 blue (b), 2 white (w) 1 (b), 1 (w), 1 (b), 1 (w), 1 (b), 1 (w), 2 (b) white until the end
Row 6 :1 blue (b), 2 white (w), 1 (b), 1 (w), 1 (b), 1 (w), 1 (b), 1 (w), 2 (b) red until the end
Row 7:2 blue (b), 2 white (w) 1 (b), 1 (w), 1 (b), 1 (w), 1 (b), 1 (w), 2 (b) white until the end
Row 8-14: alternate full rows of color: starting with (row 8) being full red, row 9: all white, etc, until reaching row 14 when the pattern will be complete.

—


