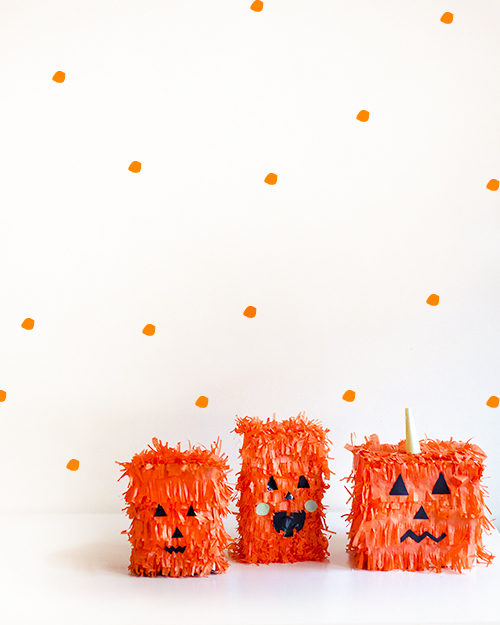
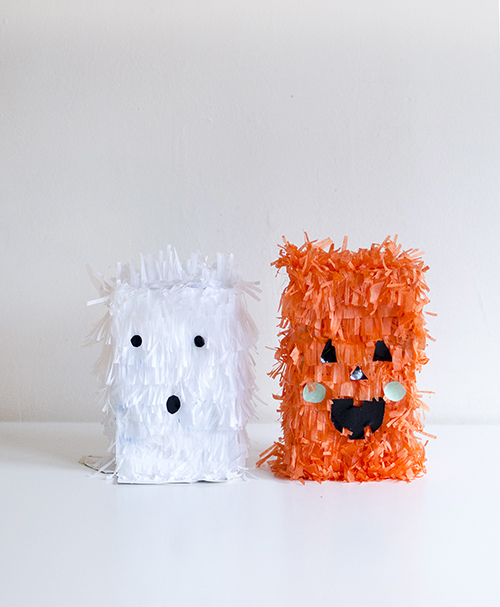
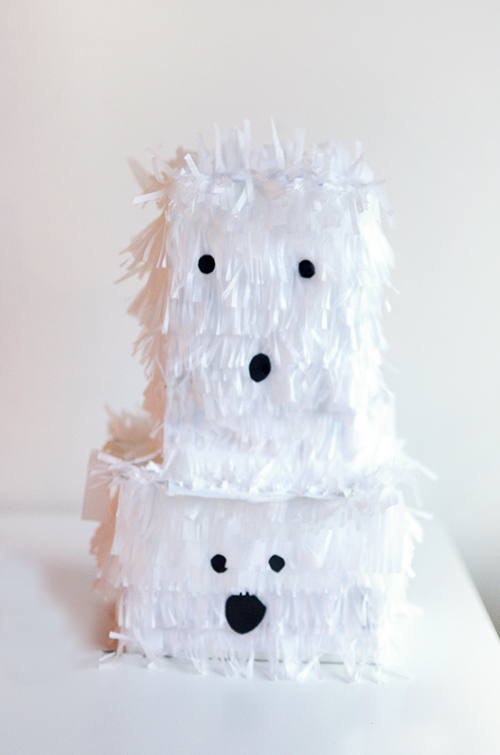
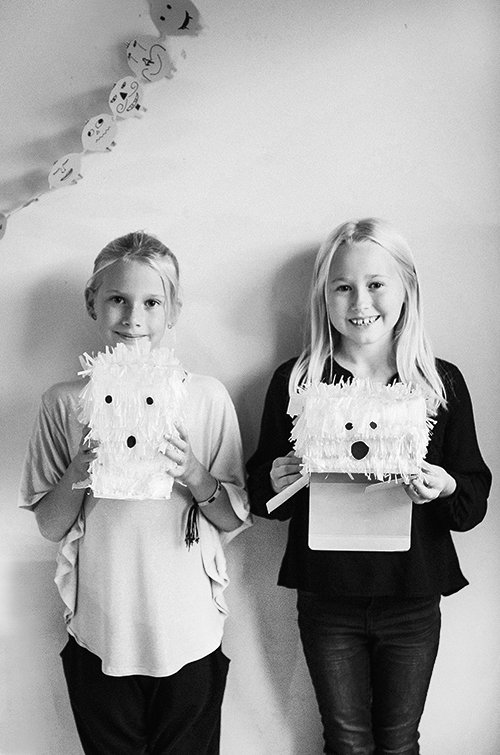
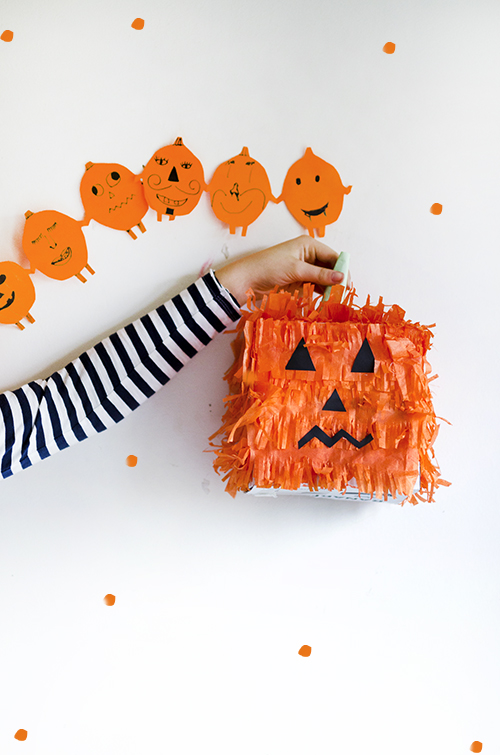
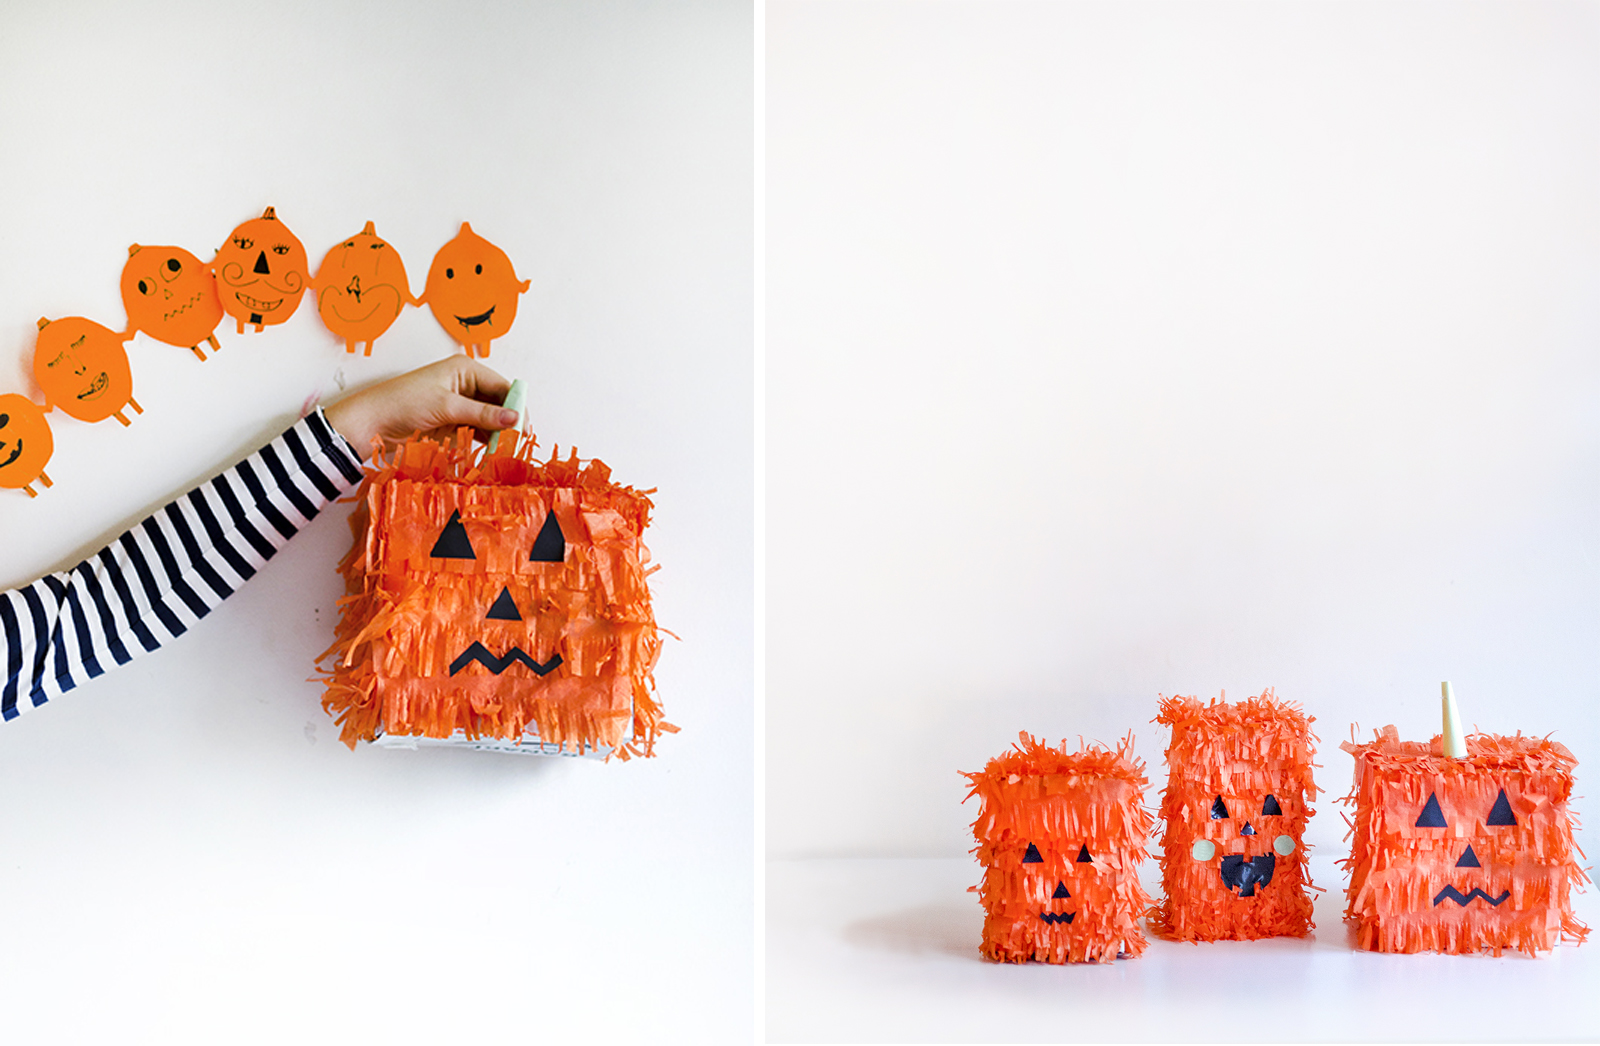
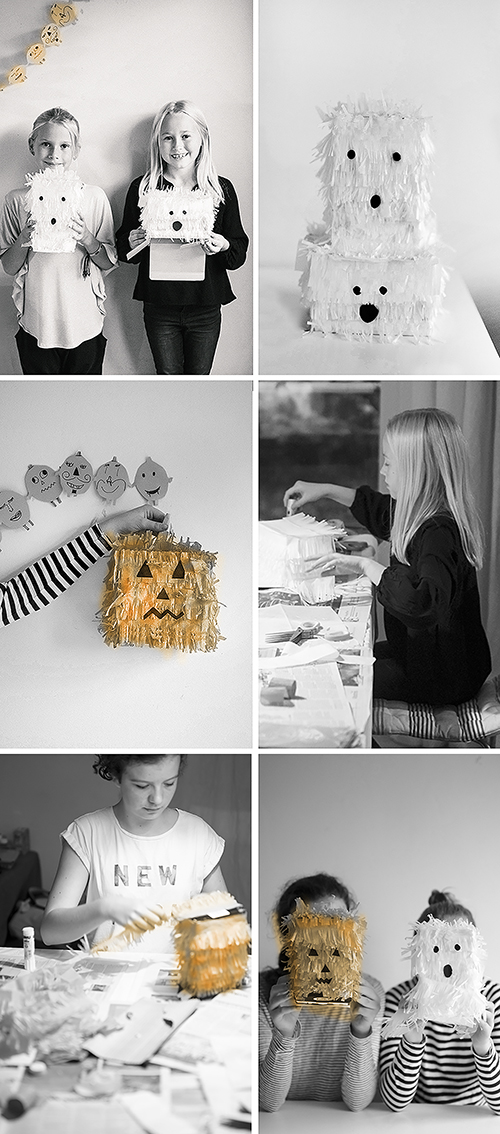
 Pumpkins and Ghosts, in the form of Halloween Piñata Boxes, that I think could be invited to any Halloween party. I made Ghosts and Pumpkin Halloween Piñata Boxes with a crafting kids group and no one wanted to stop. These are both piñatas and containers so that they can be used in multiple ways: as a piñata, as a decoration, or for storage.
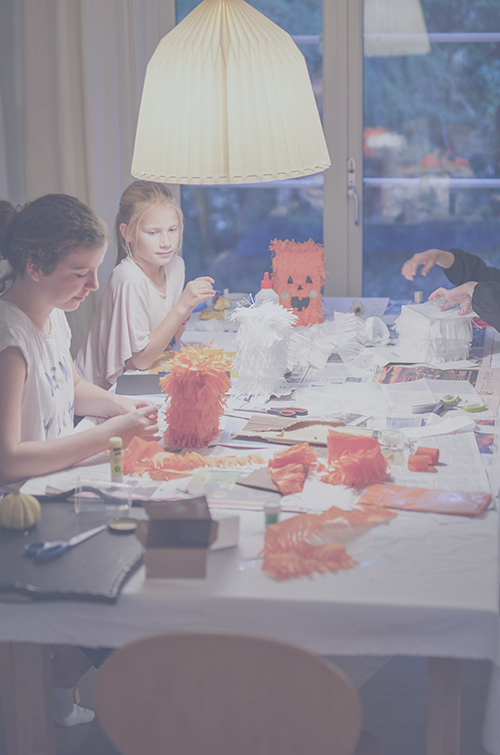
Come along with me and my wee- willow makers to make these, too.
Let’s get started making:
This is what you’ll need:
Materials:
- Crepe Paper in White or Orange
- Scissors and Fringing Scissors (like this), if you have a pair*
- Box (Recycled box, such as a pasta box)
- Glue (Regular craft glue, hot glue gun and glue sticks all work)
- Construction paper.
HOW TO
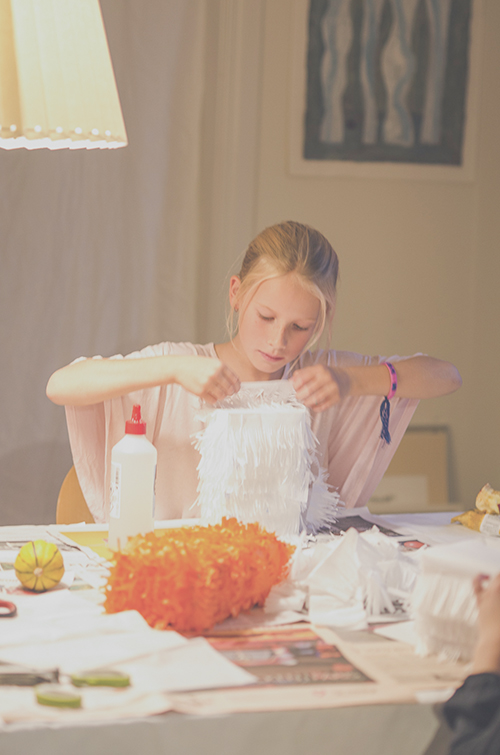
- 1. Start by fringing paper.
- If you’ve never fringed paper before, starting from one side of your length, snip up to close to the upper edge but, don’t cut through. If you have a fringing scissors, use it! These give such a professional look and save time; but, I made due with a regular scissors for years and this will work.
- Once you have lengths of fringe, begin to glue this around your box.
- This is important: Place the open end of your box down, if you’d like to use it later for storage.
- If you’d like to have it open on top, place the open end up.
- Apply fringe from the bottom and work your way up.

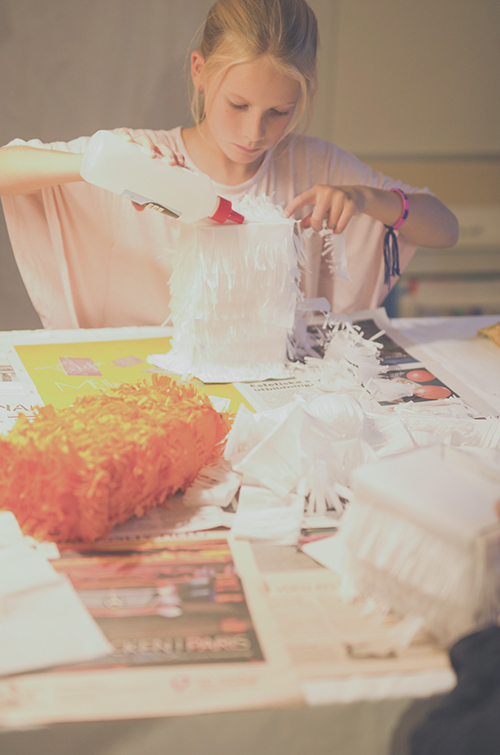
- Once the sides are covered, place fringe on the top.
- When your box is fully fringed, it’s time to embellish faces.
- Ghost: Use black paper to cut two eyes and a mouth.
- Pumpkin: Cut 2 eyes, nose, mouth (and I couldn’t resist cheeks)