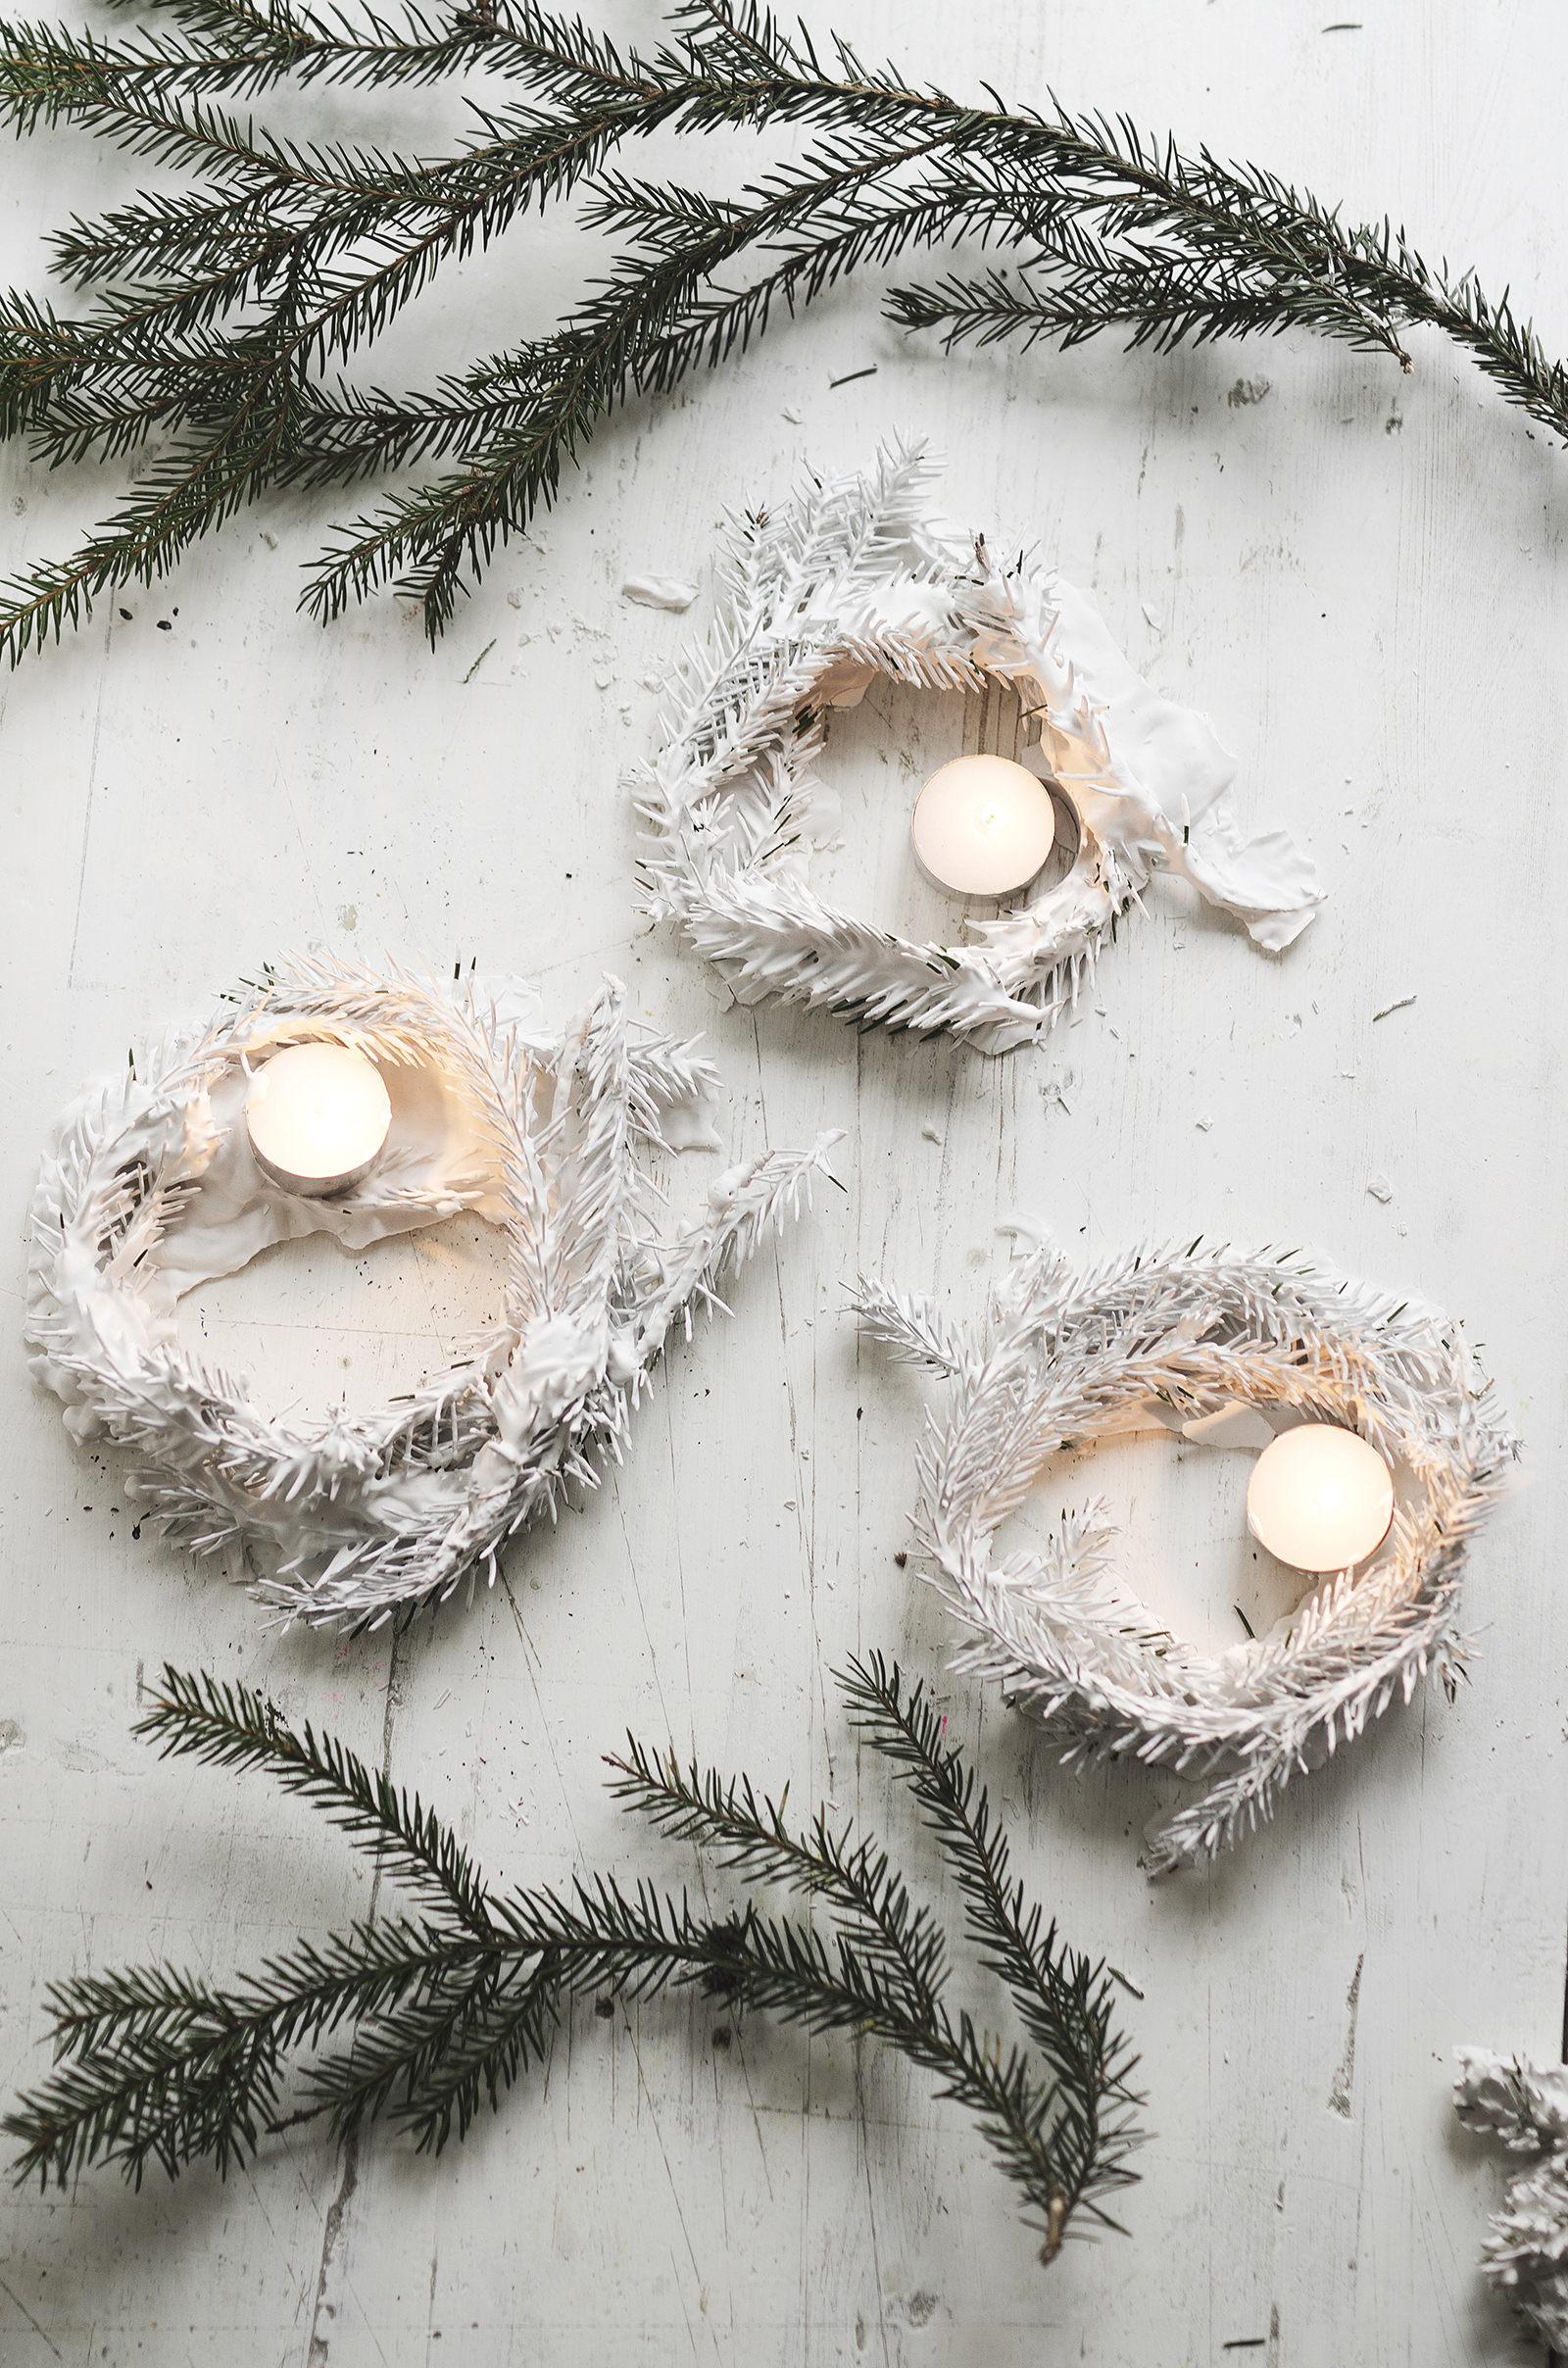
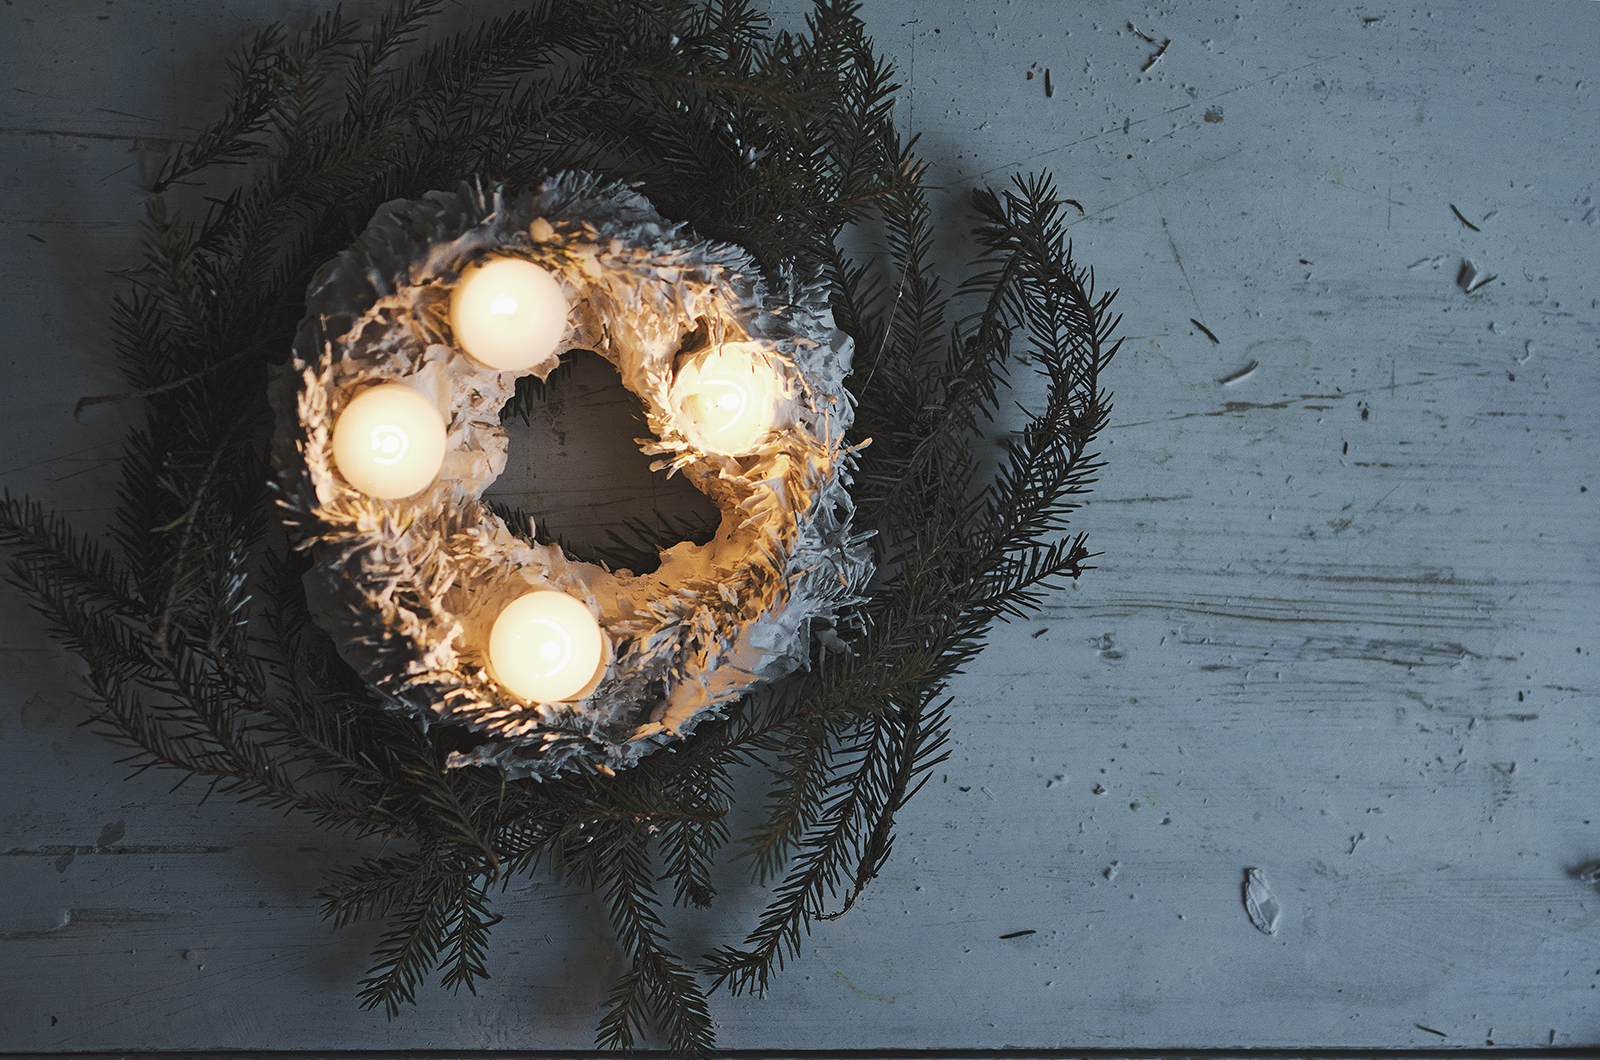
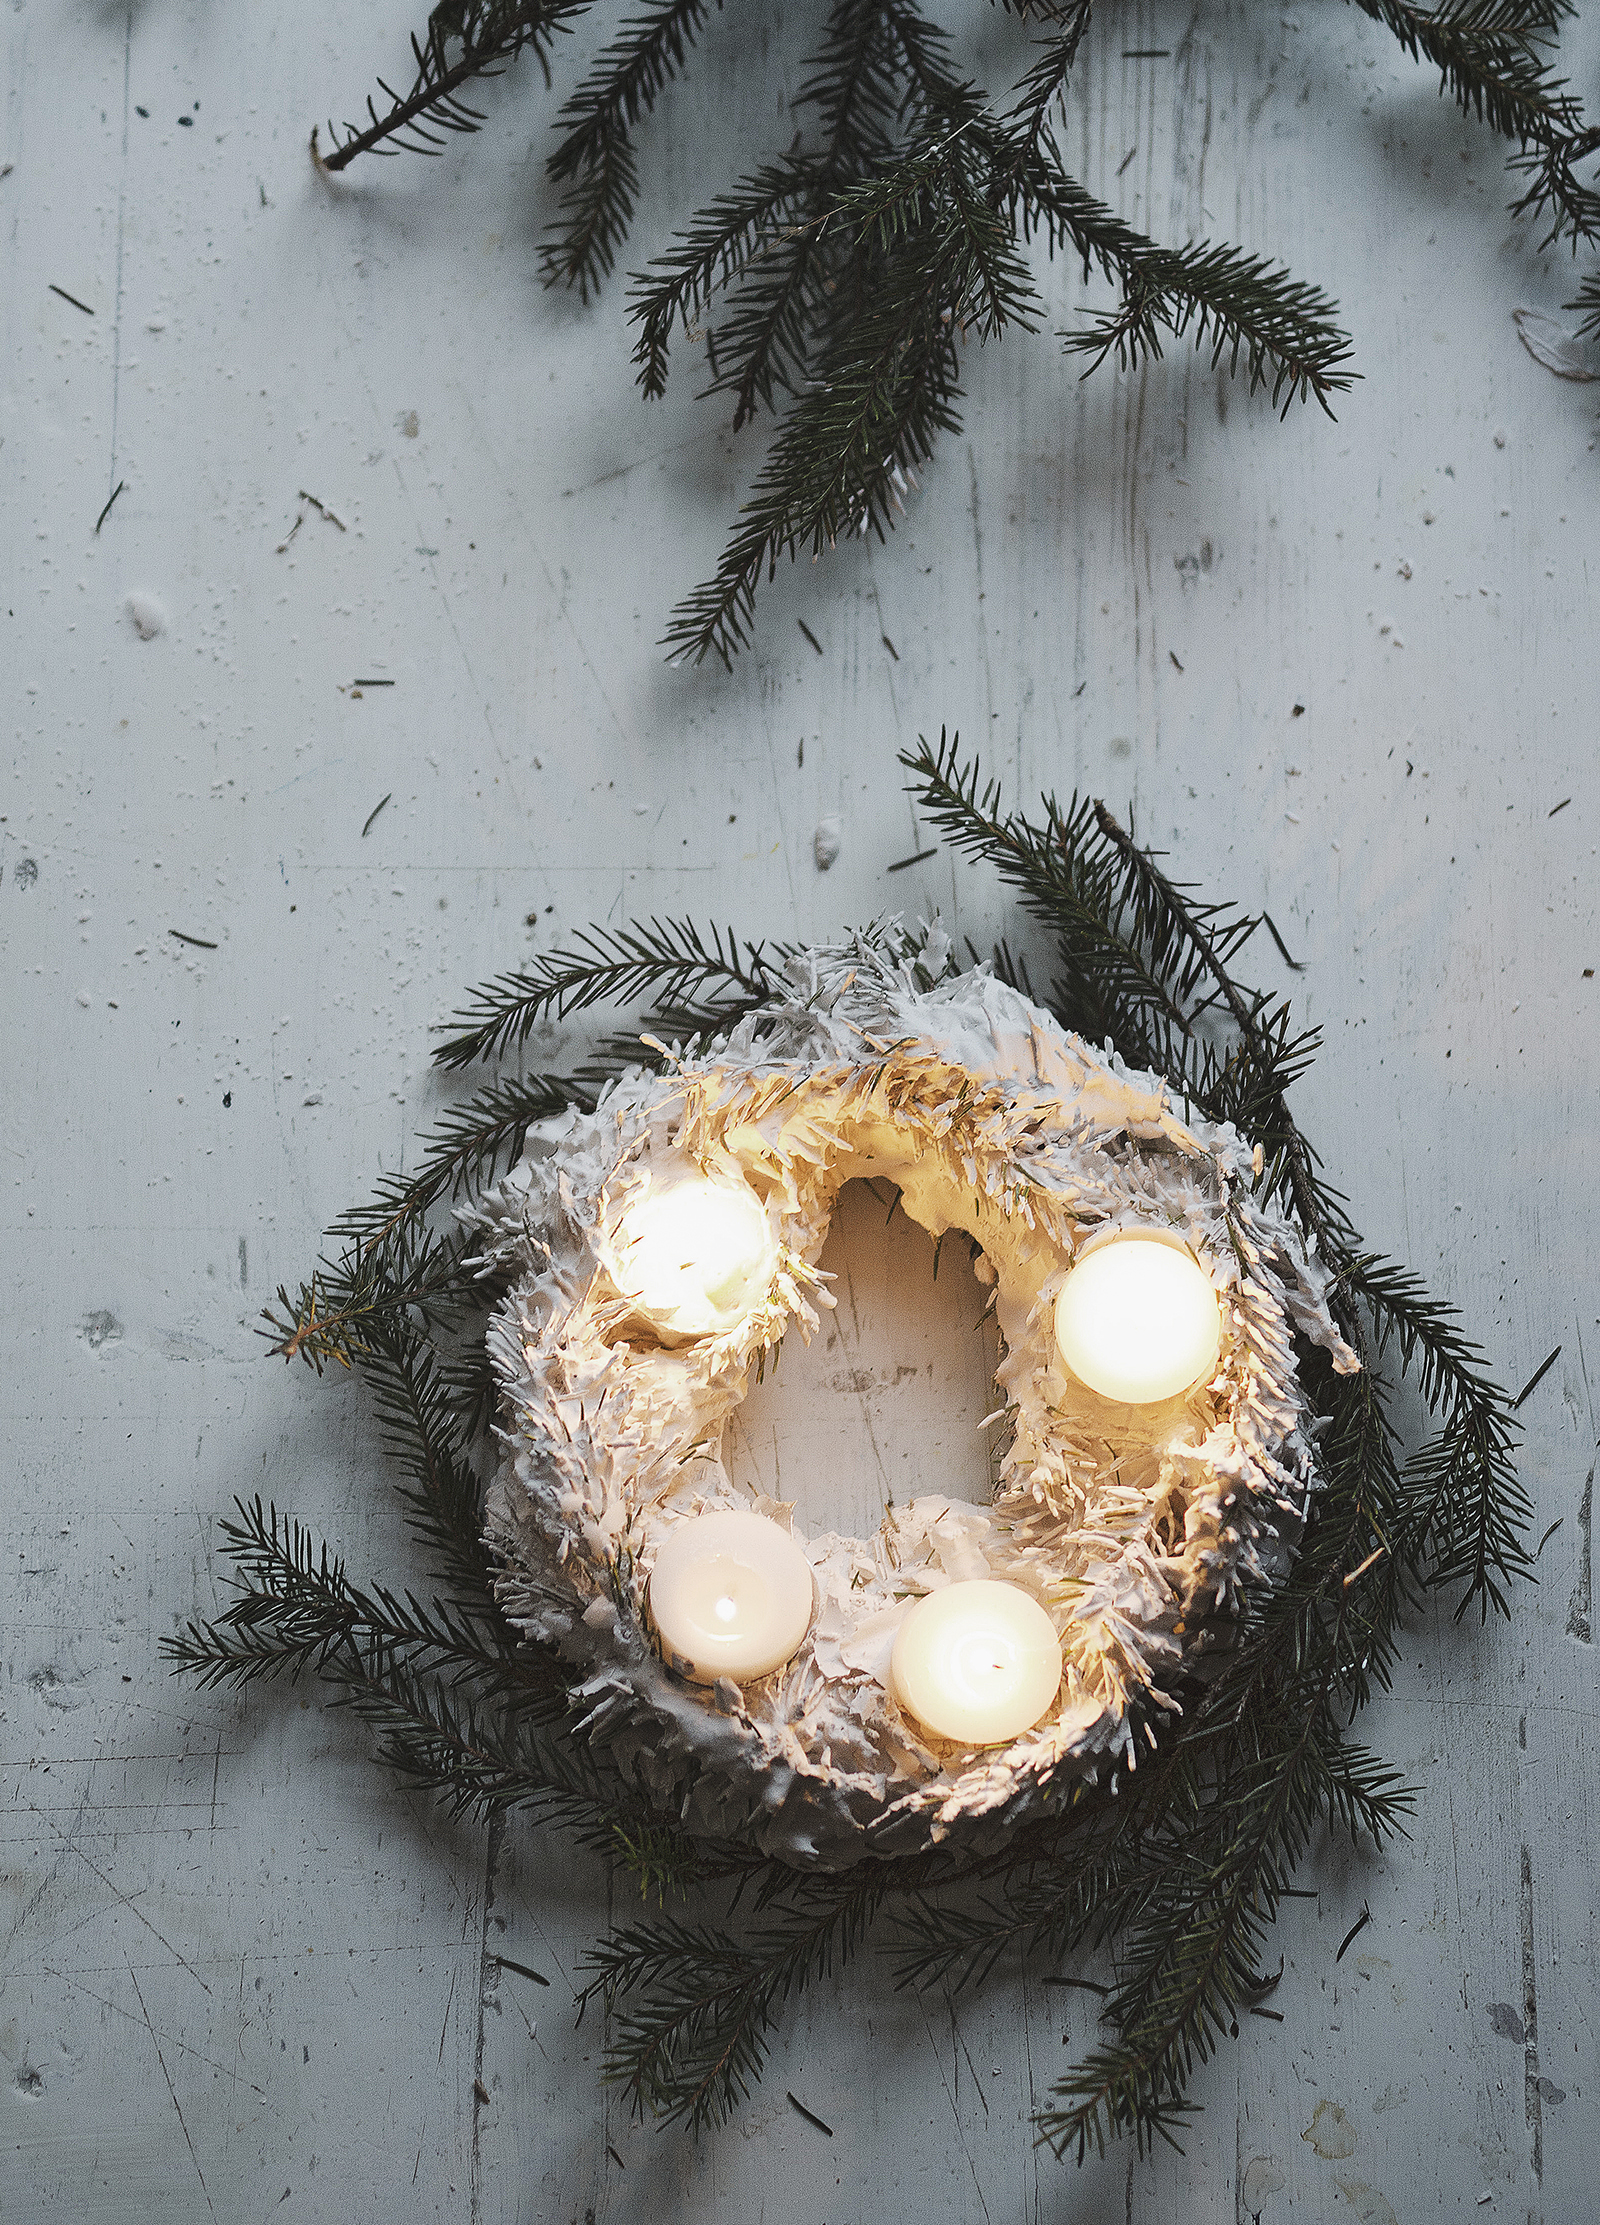
DAY 1 Plaster-dipped Pine bow Votives
There’s nothing like candles flickering in the snow at Christmastime in Sweden; until you wish you could bring that snowy ambience inside. Welcome to DAY 1 in the 4th Annual Creative Calendar. I’ve had this idea in the back of my mind forever and can’t believe I didn’t take the leap to try these earlier. Plaster-dipped Pine bow Votives are so easy they practically make themselves. Finally a way to have snowy candlelight indoors
![]()
Sharing these Plaster-dipped Pine bow Votives today is extra special because it’s Day 1 in the 4th Annual 24 Days of Creativity Calendar. I’m so very proud to be able to present you the first day in the 24 Days of Creativity Calendar and to join the other 24 plus Creatives from Sweden, Denmark, Norway, UK and the US . This year, I will post all projects daily until December 24. Bonus: there will be extra days continuing into January with a special New Year’s Day post and a couple special Swedish Christmas celebrations that are unique to our area of the world.
If you’re joining me and these 24 guests for the first time, I will post a new post every day from a new creative who will present something lovely and Christmasy to make, bake or do this holiday season – you’ll get inspiration, great ideas, step-by-step DIYs, recipes, the works. All inspired by the perfect Scandinavian Christmas.
Materials:
- pine sprigs
- water
- plaster
- mixing bowl to mix – I like a wide bowl. (If you live in Sweden, the JulPepperkakor containers are perfect)
- baking or parchment paper
- tea lights
- metal clippers or wooden skewers
- thin wire is optional if writing a long, script word, like I did. (God Jul is Swedish for Merry Christmas.)
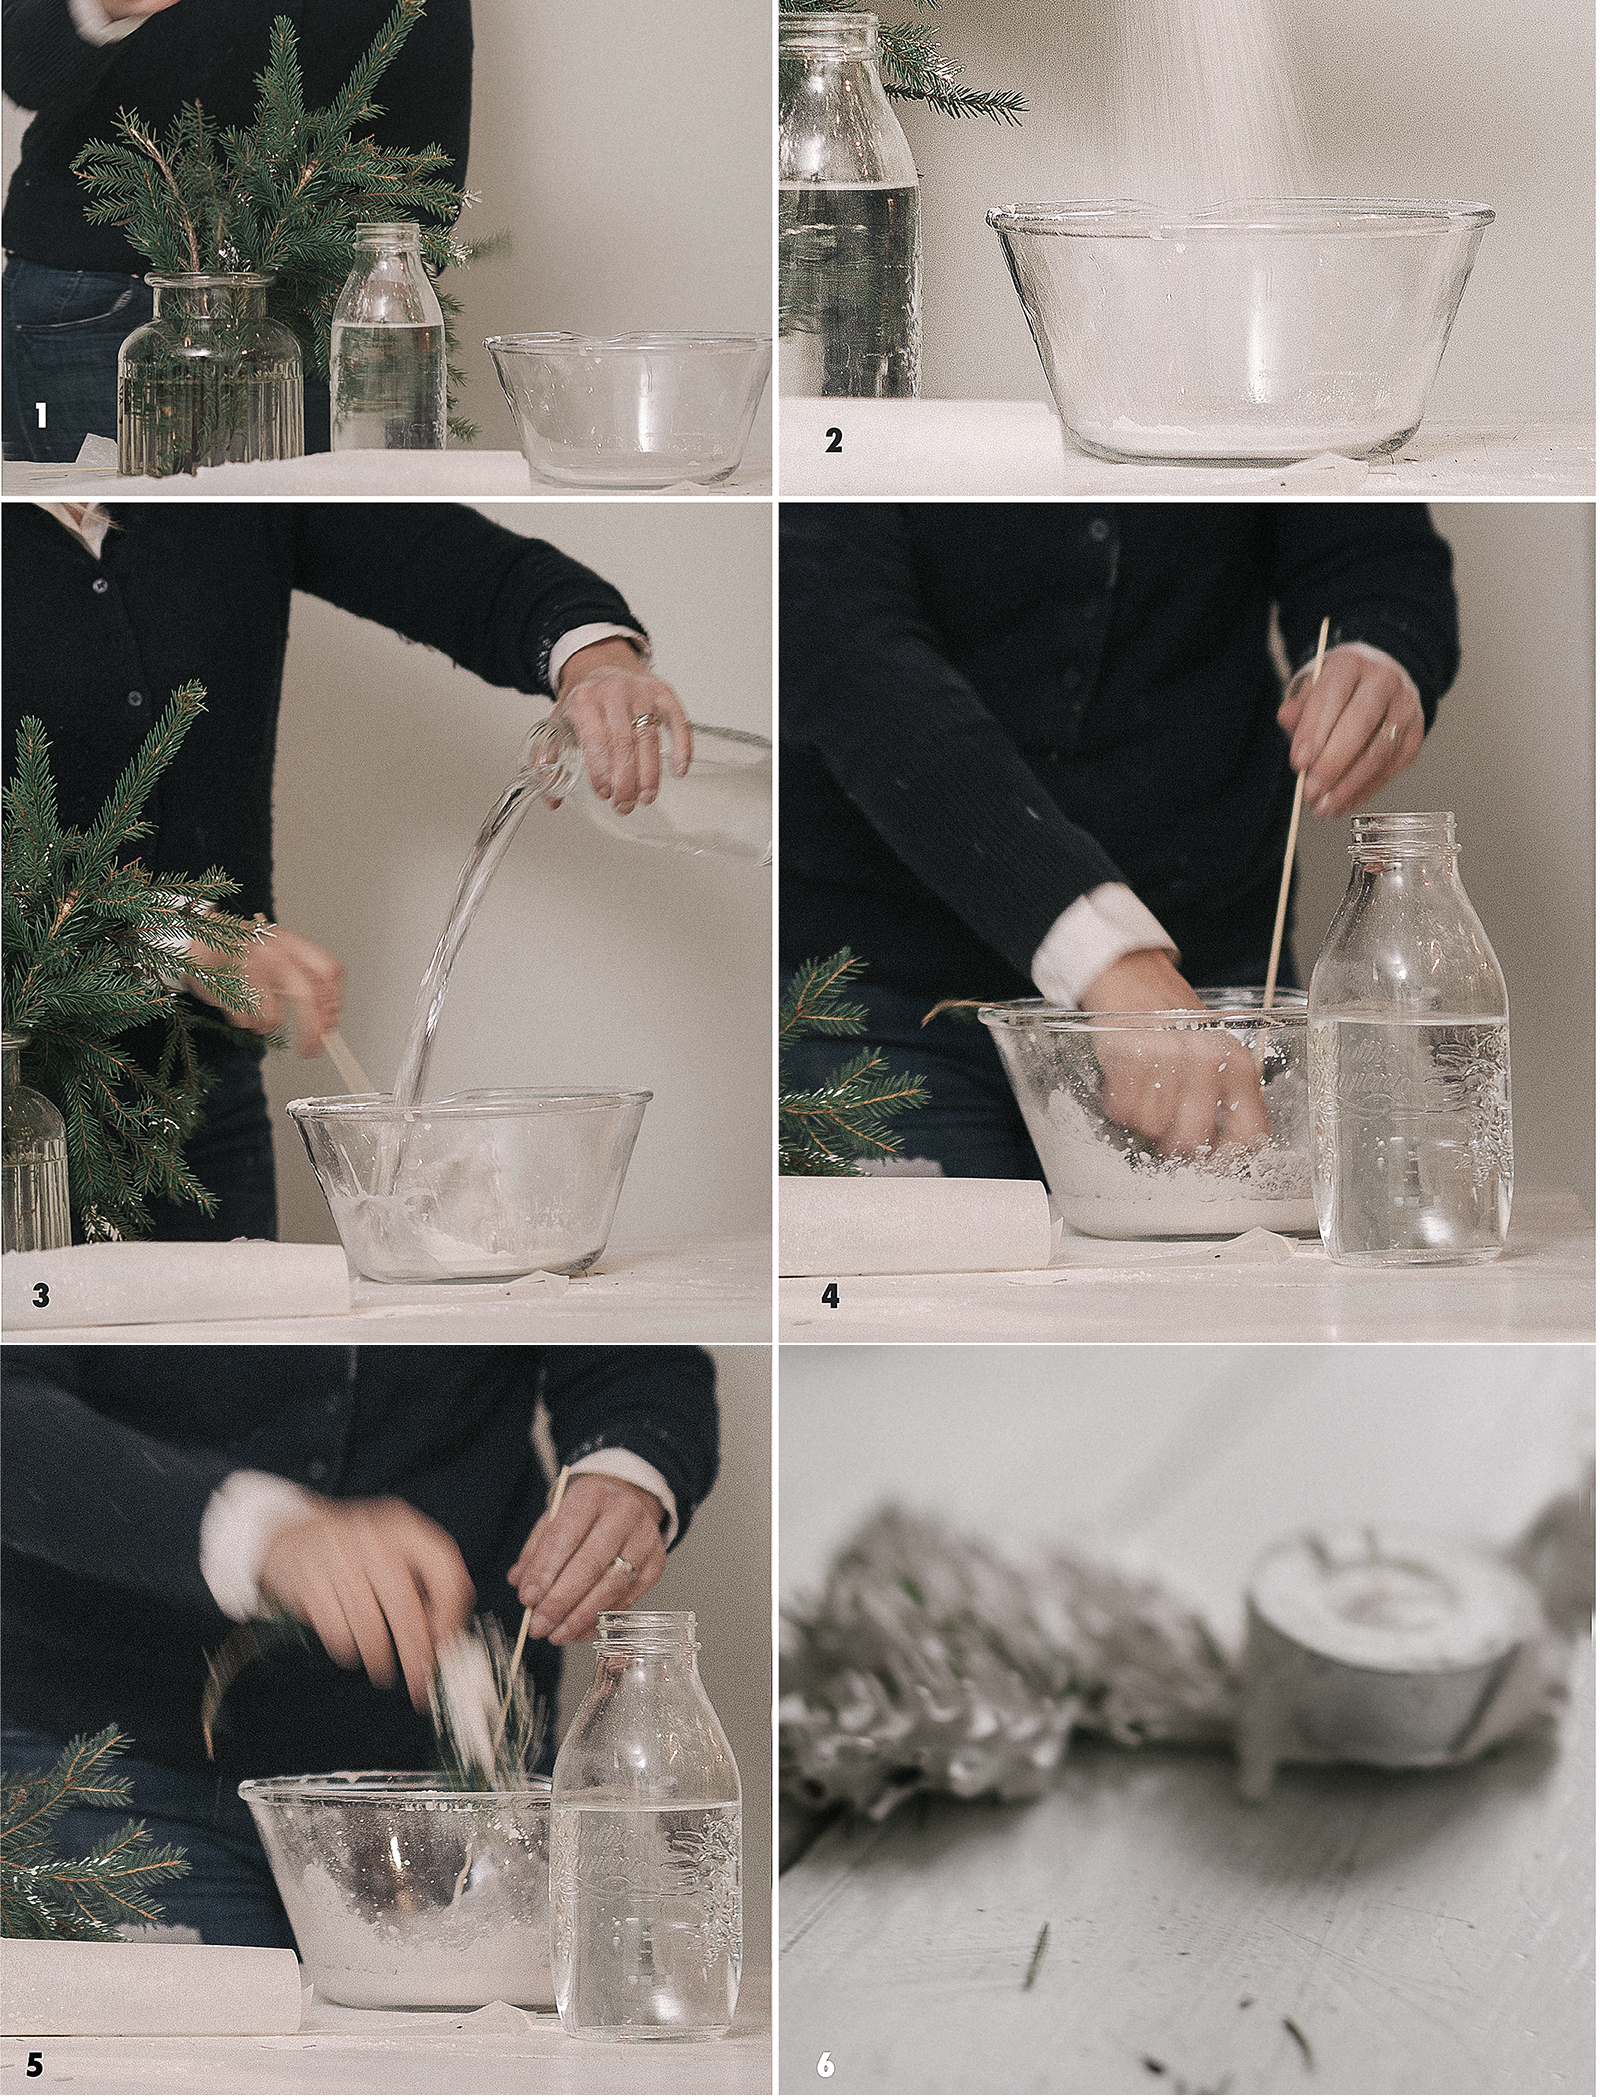
How to:
- Gather pine spigs.
- Prepare work surface by covering your working area and by placing baking paper down to be used for a place to set and dry the pine sprigs.
- Using gloves, mix and prepare the plaster-
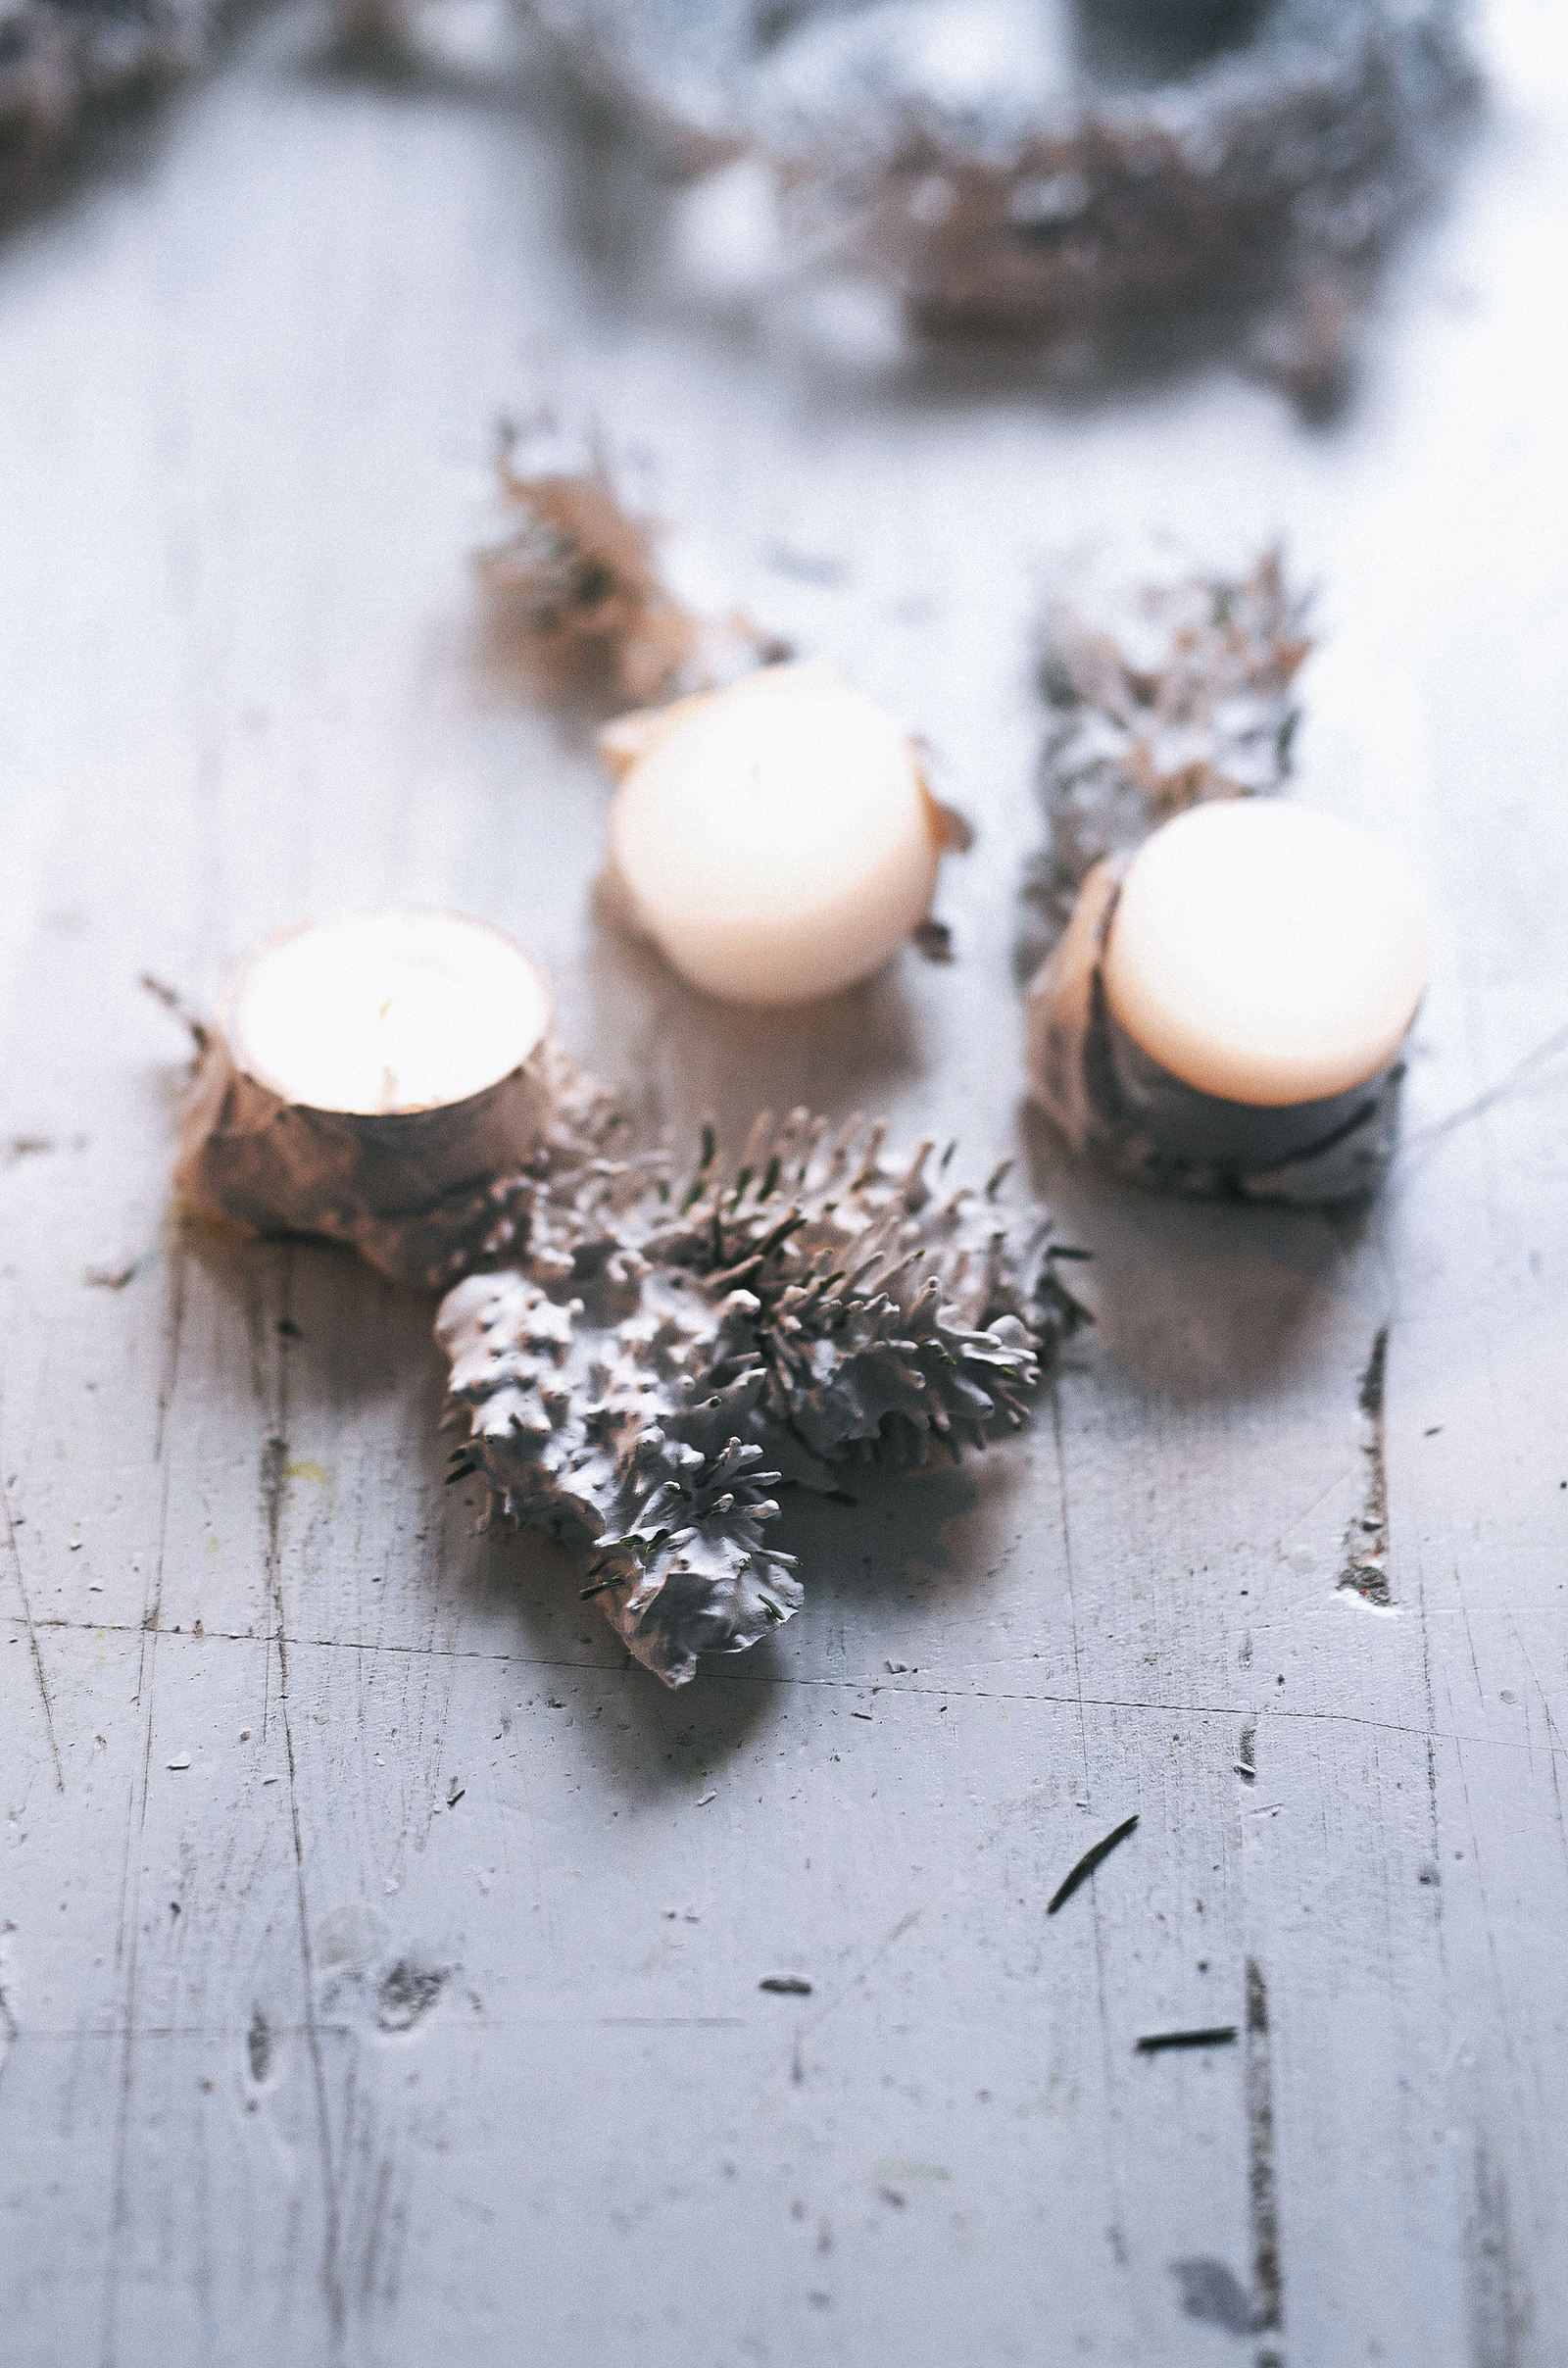
- Dip the pine sprigs into the plaster.
- Place the pine sprigs on the baking paper in the final desired shape.
- Press the votives into place.
- Let dry.
Enjoy!
CONTINUE with the DAY-BY-DAY Calendar:
- DAY 1 GINA from WILLOWDAY – Plaster dipped pine votive – DAY ! | HERE
- DAY 2 CLICK HERE TO GO TO Sofia from Mokkasin.: ALSO A STAR | HERE
- DAY 3 CLICK HERE TO GO TO Mari with Pine Garland | HERE

You can also join us here
I hope to meet you here daily. I’m posting EVERY DAY with the DAILY POST from a daily GUEST CREATIVE.
Follow along here, too: INSTAGRAM
- DAY 1 HERE | GINA from willowday – Plaster dipped pine votive
- DAY 2 HERE | Sofia from Mokkasin.: ALSO A STAR
- DAY 3 HERE | Mari with Pine Garland

SEE WHATS NEW